In January 2025 I purchased the new Creality K2 Plus from BestBuy.com. I had been looking to invest in a large-format printer that would “just work” out of the box. I’m not going to scrap my old printers entirely, but I need a reliable printer for the projects that I have piling up, and I don’t have time for a new, long-term project at the moment.
I did a lot of research before making this purchase. Honestly, there are cheaper options out there. And there is a large amount of momentum around Bambu Labs and their product line. But I don’t like the closed-source nature of their printers. And the reliance on cloud services for their more robust features. Additionally, I wanted a larger print bed than the currently available 256mm by 256mm.
Summary of Needs
I was looking for the following:
- Larger print volume (over 300mm by 300mm) to take over my larger print jobs.
- Reliable printing to prevent the need for tinkering.
- Faster printing than standard printers that have been on the market in the past (that 200mm/s is a beautiful thing)
- Minimal work to setup printer
- Works with multiple filament types (PLA, PETG, ABS, ASA) but flexible filament isn’t required
- Enclosed printer to provide options for exhausting fumes out of the house
- Active chamber heating to aid in printing ABS/ASA but also help prevent heat fluctuations during printing that affect print quality
- Modern niceties such as:
- automated bed leveling
- filament runout sensor
- resume after filament runs out
- input shaper
- pressure advance tuning
- belt tensioning
Nice to Have
- Option for multi-color printing → I don’t often require printing in multiple colors, but I thought it would be nice to have the option to do this.
- Automatic switching to a new spool of filament → During longer print jobs, or when I want to use up a partial spool of filament, it would be nice if the printer handled switching to a new spool.
- Automatic detection of print quality issues
Additional Considerations
- Ability to print directly from my computer without having to go through the cloud (local network printing)
- Strong customer service
- Replacement parts readily available
- Vendor lock-in with parts and service
- Cost of replacements parts
- Ability to easily use any brand of filament
List of Contenders
As part of my review, I looked into the following printers (in no particular order):
- Bambu Lab X1C (even though it didn’t meet my criteria)
- Anycubic Kobra S1 Combo
- Prusa CORE One
- Creality K2 Plus
Not Considered
- Original Prusa XL → I love the tool changer concept, but at $3,500 all in it was just too expensive for me to consider for this.
- Conversion kits for my existing printers → I still want to try this, but I wanted something I could basically plug in and go.
- Cheaper options from discount sites → Nice try Temu with the Two Trees SK1. I did look at it, but I stuck to my requirements and after reading some reviews I’m glad I did.
- Any bed slinger models → I wanted to enclose the printer and ensure a smaller overall footprint in my work area.
Printers
Bambu Lab X1C
I’m not going to cover this printer much because it’s features are easily available through a basic Google search. And it had strong features that made my decision difficult.
Reasons in favor of this printer
- Multicolor options via the CMS
- Enclosed printer with corexy model
- Faster printing
- Strong community, software, and service
- Nice options like filament runout resume
Reasons I didn’t choose this printer
- Bed size → I really need something that is at least 300mm by 300mm. For the projects I’m working on, this is increasingly important. I know that they are supposed to be releasing a larger format printer soon, but I had a timeline, and other reasons (read on).
- Reliance on cloud services → I am considering creating custom products and control over my data is important to me. While I’m sure Bambu Lab does its best to ensure my data is secure, I want to be able to make this choice on my own.
- Open source controversy → I have built my career on open source software. And I’ve admired Prusa’s commitment to the 3D printing community with software and innovation. Say what you want about software being derivative, it bothers me that Bambu Lab built their work on top of open source software and didn’t contribute back to that source. I agree that any innovation they created that is specific to their system should be their intellectual property. But even if they contributed monetarily to the development of the open source community that worked so hard to build what they used would have been better than what they did. I couldn’t bring myself to hop on board with that. I just couldn’t. No shade against anyone else who did. They are excellent printers and the fact that people have built businesses with these printers and new people have been introduced to the world of 3D printing through their innovation is all a good thing. I just don’t like how they got there.
Anycubic Kobra S1 Combo
When I started reviewing printers, I saw this option begin to show up in my search results and feeds. However, the printer hadn’t been tested and I couldn’t see any reviews anywhere.
Reasons in favor of this printer
- Multicolor options via their ACE filament system
- Active drying on the ACE system (currently a unique feature in the market)
- Enclosed printer with corexy model
- Faster printing
- Nice options like filament runout and auto resume
- No requirement to use cloud-base software to print over network
Reasons I didn’t choose this printer
- Bed size → Again I couldn’t get around the fact that my current printer was already feeling too small with a bed size of 220mm by 220mm. And this one was only 250mm by 250mm.
- Lack of reviews → I couldn’t see any reviews that were beyond the normal marketing content from Anycubic. And though I like the company, I only had the budget to purchase one printer. So I wanted to be sure I was making the right decision for me.
Prusa CORE One
I’ve wanted to own a Prusa for awhile now, but I couldn’t get behind the price on the XL (as I mentioned above). I really love the design of this printer. You can see they put thought into it from the placement of the filament spools and accessories, to the materials used for the frame.
Reasons in favor of this printer
- Enclosed printer with corexy model
- Faster printing
- Nice options like filament runout and auto resume
- Small footprint due to smart design choices
- No requirement to use cloud-base software to print over network
Reasons I didn’t choose this printer
- No multicolor option → While not a deal-breaker, I figured if I was going to spend over $1,000 on a printer, it would need to be one that would at least have the option of multi color. I wouldn't be surprised if Prusa makes their MMU3 available for this in the future. But I was looking for something that worked on my timeline.
- Bed size → Yet again I didn’t want a printer with a bed size below 300mm by 300mm. And this one is 250mm by 220mm. Making it the smallest of the four machines under consideration.
- Lack of reviews → During my purchasing window, the Prusa CORE One had been sent to content creators for review, but they hadn’t been granted permission to actually share their opinions. I was therefore unable to see examples of the print quality from this machine.
Creality K2 Plus
This printer has been on my radar for quite some time. I watched it move through the initial offering and onward to a wider audience. I watched videos from content creators talking about the color handling, print quality, speed, and any issues they noted. But I also saw the many people who were jilted by Creality’s initial ordering process and race to market. For any search on reviews for the printer, you will see many positive reviews. But you’ll also see many, many negative reviews.
The negative reviews range across the board from poor support response, to buggy firmware, to buggy slicer software, poor print quality, issues with the CFS, and more. It’s hard to ignore the sheer volume of responses from consumers with negative feedback.
But I had a soft spot in my heart for this company. My Creality Ender 3 Pro was my first, true 3D printing experience. I started with an Eryone Thinker S because it was larger and cheaper that competitors. But there was no support or community around that printer. I ended up with the Ender because…well…everyone had an Ender. So there was endless support and help for that machine. I’ve logged hundreds of hours on it. I converted it to use klipper and added the Sprite Pro extruder. It’s been a solid printer for me. That’s not a good enough reason to drop a lot of money on a new, less tried and true machine. But it did sway me.
Reasons in favor of this printer
- Multicolor options via their CFS addon
- Enclosed printer with corexy model
- Faster printing
- Nice options like filament runout and auto resume
- Bed size (350mm by 350mm)
- Replacement parts available for a reasonable price
- Active chamber heating
- No requirement to use cloud-base software to print over network
Reasons not to choose this printer
- Many negative reviews → The majority of reviews seem to center around models that were purchased as part of an earlier offering of this machine. And yet YouTubers were saying very good things about it. Was it all fluff? Even makers I really like and trust were saying good things about this machine.
- Size → The printer combined with the CFS is humongous. I couldn’t determine where I’d even put one. But then I rearranged my entire office over the end of year break and thought through where I might put a printer. Because whatever I chose I’d need to have a place for it in the first place.
Final Decision
With that raving review, you might wonder why I did eventually go with the Creality K2 Plus. I wouldn’t blame you. It came down to this:
- I could purchase it at Best Buy online, thus enabling me to return it easily if needed without fuss. It actually cost me an extra $100 to do this. But when you’re already spending over $1,500 on a printer, that is what I call a peace-of-mind tax.
- I’m not necessarily afraid of print issues. With the number of possible reasons for issues on a printer (old filament, not reading that TPU is a no-no, attempting to customize the firmware, printing with Orcaslicer instead of Creality Print, and so much more)
- It could be delivered within two weeks. All of the other printers were reporting shipping delays of mid-February or later.
- Curiosity. I just HAD to know if all the bad reviews had merit. And since I’d found a path that reduced my risk, it seemed like a winning choice.
First Impressions
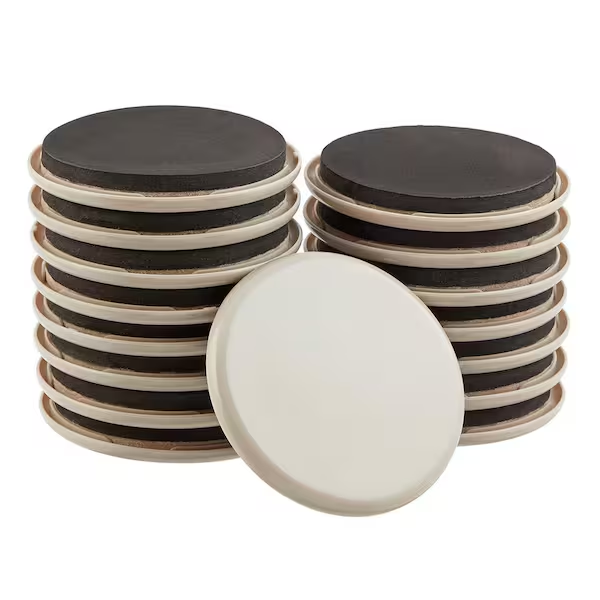
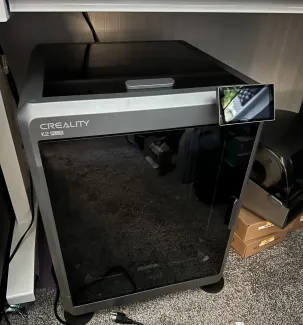
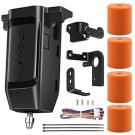
The K2 Plus is big. Even the unboxing is built around it. I didn’t buy the combo package, because it wasn’t available on Best Buy’s website. So I purchased the printer and CFS separately. The packaging was robust. And it took a dolly to move it around the house. I ended up purchasing a pack of furniture movers. Which is appropriate since this is more like a piece of furniture than any other printer I’ve had.
So I put it on the furniture mover discs and started working through the instructions on removing packing material. Two screws holding the bed in place, tape holding the filter doors down, the door closed, and the top glass wrapped in thick cardboard. The printer is made of steel, not a single aluminum extrusion in sight. And the clear panels are both thick glass.
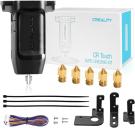
The printer came with a nice toolkit, a replacement nozzle, and a kit of replacement parts. Additionally it came with many different lengths of PTFE tubing to allow for placing the CFS in many different configurations. And cabling to plug in the buffer unit, which ensures the filament is always available for the extruder.
The CFS was similarly packaged. It came with desiccant packs to put in the back of the unit and cabling.
I ran the printer through its setup steps where it calibrates input shaping, belt tensioning, bed leveling, and the filament cutter.
I ended up putting the CFS next to the printer since the printer was too tall to fit under my table with the CFS in the recommended configuration on top of the printer. This made the filament path very long, which did cause a couple of issues later on.
CFS
The CFS unit was impressive. They obviously took a page out of Bambu Labs’ book with the design and added a few improvements. It contains two desiccant trays inside to help control moisture. Additionally there is a digital display on the front that shows the current temperature and humidity levels inside the CFS. There are also PTFE guides and a funnel-like cup on the ends that guides the filament from the spool into the filament path.
The RFID reader is inside the CFS and reads spools when they’re loaded in. I did notice that if I loaded a non-RFID spool to replace an RFID spool mid-print, it assumed the spool you placed also had an RFID and was the same material you had previously loaded. This shows the RFID reading process really only happens when filament is loaded outside of a print job.
Benchy

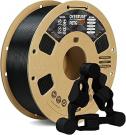
I printed the presliced Benchy that was packaged on the printer and it completed in 14 minutes, as expected. I used the half spool of filament that came with the printer to ensure if there were issues, they weren’t related to the filament used.
I was surprised at how loud the “poop shoot” was considering how quietly the printer operates in general. On default settings the enclosure dampens quite a bit of the motor and fan noise.
This filament is marked with Creality’s RF tags. When loaded into the CFS, the spoon spun and autoloaded. During the loading sequence, it read the tags and set the filament details automatically. Which, I must say, is a nice convenience.
Once the benchy was complete, it cut the filament and retracted it back into the CFS.
Next steps
After printing the benchy, I moved on to print some wall brackets for shelves. This was the project I had been working on that was interrupted by my Frankenprinter halting due to thermal runaway issues. These were all printed in PETG because I had a lot of the filament on hand. I started with a spool that was already unboxed in order to use it up and loaded another spool of the same filament to test the auto handoff of filament in the CFS to use filament of the same material and color once the currently active spool is emptied.
It printed one bracket perfectly, but the next one I had a filament issue where the filament snapped in the PTFE tubing and wouldn’t retract properly. I had to clear the entire, very long length of PTFE tubing before the printer would continue. I scrapped that print and started over. It completed multiple jobs and flipped to new spools as needed. And the bed size was awesome because I was able to print four brackets (that each hold 10" wide boards) at a time.
So that was a great success.
I next attempted to print some custom models that I had created. A chicken feeder that I had designed and attempted to print with a 0.6 nozzle on my Frankenprinter. It printed well until the filament jammed and I ended up stopping the print because I didn’t like the orientation anyway. I then printed multiple copies of the same file over and over using the handy “Print again” button on the touchscreen. And it finished four prints without issues.

Next I moved on to gridfinity. I’d been wanting to organize my drawers for awhile. And I’d started printing my boxes and base plates on my Frankenprinter. But I had so many issues with stringing that the prints were nearly unusable. It was such a relief to see a small, 1x2 box print without issues. I then moved on to a larger box and the print failed due to poor adhesion on the bed (see photo >>).
Thus far I had been printing everything using the default temperature settings provided by Creality Print on generic filament. This time I was using Sunlu PLA, which does like the bed a little warmer. So I made a custom filament profile for it adn moved the print bed temp up to 60°C from 50°C. I reran the print and it completed just fine.
For the next few prints, I tested a basic color change. Having never done this before, I used the paint option in the slicer, which isn’t the recommended approach (I now know), but it worked. And it was fun to see the printer switch out colors and then resume printing. Something that has been called out in review videos is the "unicorn" nozzle used in this printer is very long. This gives a huge melt zone and offers a high volumetric flow for fast printing. But it also means the printer has to purge a lot more filament for each color change than other printers (like the BambuLab X1C). Since this isn’t the primary use I have for the printer I’m not worried about this. But it’s important to note.
Also note that for all of my printing so far I have turned off the automatic features like AI detection, pausing due to faults, auto PA calibration, flow ratio calibration, and waste chute inspection. I wanted to see how it performed without these features so I knew if the settings actually affected the print quality.
Troubleshooting
During one of my prints, the filament sensor threw an error saying there was filament stuck in the extruder. I disassembled the top of the extruder, where all of the gears live, by following a sticker on the extruder that has printed instructions. It shows the location of the three screws you need to remove. When I removed the front section of the extruder, I carefully walked it out, not knowing if the gears inside would fall out. One gear on the left side, that connects the rest of the extruder with the gears in the box, wanted to stay behind so I left it and was careful not to move the gears so it would be easier to reassemble later.

I found nothing inside the extruder, but I did notice the filament runout sensor light was on. After reassembling the extruder, I noticed that the light turned off when I reassembled the extruder so I figured it was supposed to be on. The printer resumed and finished the print. A false positive I supposed. But I was wrong.
On the next print, it started throwing errors again. Similar to the last time. I took apart the extruder again because I realized that there might actually be filament stuck that I didn’t notice before. Sure enough, there was a small piece of PLA that had broken off and ground into the gears. After clearing that, the printer would not resume this time. I started thinking that the bad reviews were beginning to catch up with me. I reset it to defaults and updated the firmware. But nothing worked.
I even considered the PTFE tubing length causing false positives since it could increase the friction on the line and cause it to think there was something in the way of the filament path. Creality calls this out as a possibility. And if the filament path can’t be cleared, the CFS doesn’t automatically disengage it’s motors, so you have to use a button on the bottom back, underneath where the PTFE tubing comes out, to release the filament so it can be manually removed. It’s a lot of work to do alone to hold that button, keep the CFS top open, and then use your other hand to pull the filament out of the filament path. Unfortunately, clearing the path didn’t help resolve the issue.
Then I remembered two things. The light on the filament runout sensor and the box of spare parts that had been sent with the printer. After digging through my office, I found the box and located the spare filament sensor they’d provided. I took apart the extruder…again…and replaced the sensor. The light was off when I plugged it in. I tested manually placing a piece of filament through the sensor and the light turned on. So I the light should only be on when the printer has filament in the extruder path.
Image

| Image

| Image

|
I was able to print a few more jobs but halted them due to edges of my prints lifting from the plate. I was surprised by this since I was printing PLA and the printer was completely enclosed. Then I realized that when I had come in after starting the print, the front door had popped open, defeating the purpose of the chamber heater. Until I can level the printer, or figure out a way to add a stronger magnet, I’ve temporarily taped the door shut and have been removing my prints through the top of the printer.
Since that workaround, and the runout sensor replacement, the printer has continued printing flawlessly.
I went on Creality’s site and purchased replacement sensors for $1.90 each. While I was there, I picked up a couple of filament cutters and their nozzle pack that includes various nozzle sizes.
Software
Firmware
When I first turned the printer on, there was a firmware update ready and waiting. The version numbers weren’t that far off from one another, so I went ahead and installed it. I have heard people having issues with certain firmware versions and it made me hesitate, but in the spirit of "trusting the process", knowing that I could return this whenever I needed to, I decided to YOLO it and install every firmware update as it came out.
During my issue with the faulty filament runout sensor, the firmware update I installed improved the error messages I was receiving and actually helped me understand what was happening inside the extruder. So, in that way it was an improvement. I've also noticed that when I first setup the printer, the bed leveling process used a spiral pattern starting at the center and moving outward. Now it uses a more standard grid pattern.
Web and Screen UIs
The printer comes loaded with Klipper and Fluidd by default. I was able to access the web-based UI by navigating to my printer’s IP address on my network and appending port 4408.
Example: https://192.168.0.10:4408
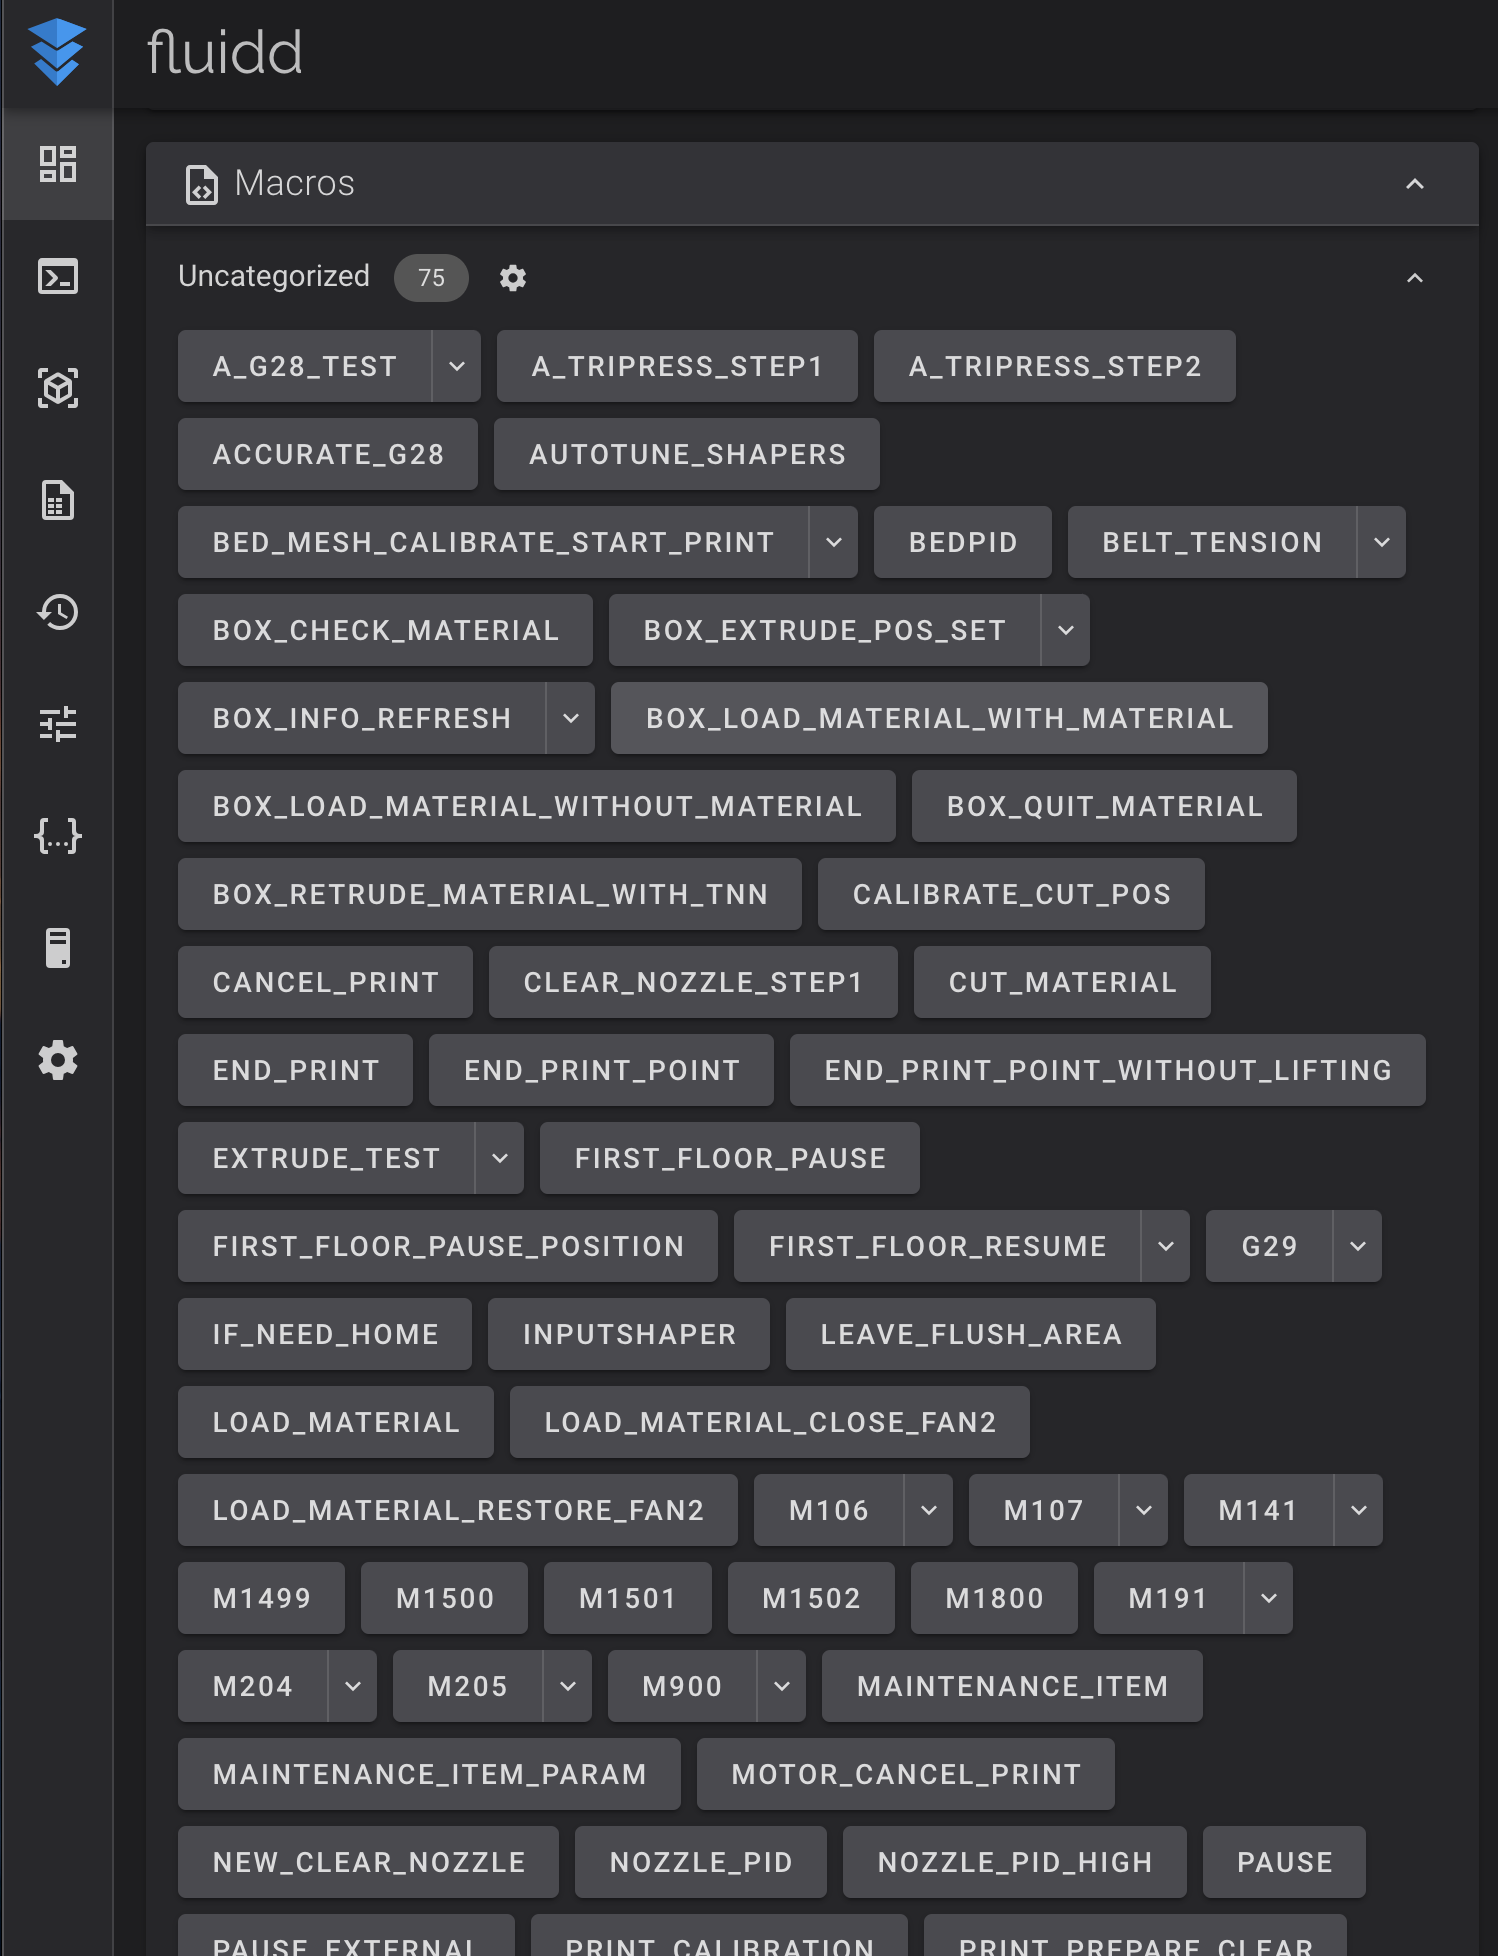 Inside of Fluidd, I can control the printer just like any other printer. And there are a number of macros stored that can be useful when testing or troubleshooting the printer.
The live camera can be viewed at port 8000.
Example: https://192.168.0.10:8000
This is a nice way to check on the status of the print job, but I would rather it appear inside of Fluidd. I haven't looked into including the video feed in the Fluidd interface yet. But that will be on my list.
The screen is very useful and responsive. After being without a screen for so long, it’s refreshing to be able to see stats on the current print or run calibration or testing scenarios without the need of a computer. Reprinting can be done there also and you can reassign the colors in multicolor prints through this interface as well.
Print Bed

I took a peak at the bed calibration in the web UI and noticed that it was reporting a print bed range of 1.03. This is much higher than I would have expected. Especially considering how well so many of the prints were coming out. I have a call in to Creality to help with this. And I’m considering following a tutorial I found on reddit to manually fix this with bed adjustments. We’ll see how that goes later.
Creality Print
I was concerned about what my experience would be like on Creality Print after watching review videos. I primarily use a Mac computer and the flashing of the GUI I saw on all of the reviews was obnoxious. After using it, the flashing was actually not as annoying as the fact that the GUI would not consistently allow me to select my parts in order to alter settings for that part. Additionally, when using the autoarrange option it would switch to using multiple plates at times when I knew the parts could all fit on the same plate.
I also used the software on my windows machine to see if the experience was any better. It wasn’t better, but it wasn’t worse. It had different issues. It would freeze or close if you attempted to slice a new model while another was printing. It also was very difficult to determine how to sync down the CFS colors.
I’m now two updates in and these issues are resolved. So far (in the last couple of weeks) the slicer software has been much better to use. It is easier to use the CFS settings, filament switching, and part placement.
Even before the updates, I really enjoyed the option that allows the user to cancel a part within a larger print job midprint. I used this when I saw a smaller part hadn’t adhered properly to the plate. I canceled only that part and the printer finished the rest of the print and stopped building the failed part. That was life-changing and it's so nice to have this as an option when printing.
Observations
I have now used this printer for about 250 hours and I have noticed a few things that, while not deal-breakers, are annoying to me.
- When homing, the printer slowly, but firmly rams the print head into the frame at the front. This makes a loud “thunk” sound that made me think something was wrong. But it was just homing without limit switches.
- The printer, when it gets going, can jar the front door open. I’m not certain if this is just because my printer is on the ground, and it might not be level. Since my office, where this printer sits, is in the basement the temperature can fluctuate throughout the day. I’ve been using the chamber heating to prevent my prints from lifting off the plate and it’s made a noticeable difference. I had one first layer fail to adhere in a small area yesterday. I stopped it, ran the bed leveling calibration and reran the print without issues.
- The camera placement is in the right top side of the printer. Due to the printer’s size, I actually would have preferred it be in the middle to make it easier to see the print from a better perspective.
- The exhaust fans on the back are very close to the poop chute. I would have preferred them to be a little farther apart to make it easier to attach ducts to the printer so it can exhaust outside.
- When using the CFS, it is important when using remnants that there be enough on the spool to run the entire filament path. Otherwise you’ll find yourself disassembling the PTFE tubing to pull that filament out. This is due to there only being motors in the CFS and then in the extruder. For me, with an extra long path, this is especially important.
- The CFS and extruder gears are pretty aggressive. They need to be in order to ensure the filament moves completely through the path. When the filament is unloaded, you can feel the ridges on the filament line that was pulled back through into the CFS. I can see this being an issue with softer filaments like Silks.
Based on the feedback I was reading I was expecting to encounter a lot more issues than I did. The printer was by no means perfect, but it was easier to use and setup that any of my other printers. The fact that I’ve chewed through six spools of filament with minimal failures is a huge point in favor of the K2 Plus.
I’m not trying to discount the experience of others. And I haven’t printed in anything besides PLA and PETG. But so far, I’m loving this machine. Once I have ventilation setup, I'll move to printing some ASA that I have reserved for some outdoor projects around the farm. That should allow me to test the ventilation and bed adhesion for less-common filaments.